Region Of Interest
The Region Of Interest or ROI is a term used in 3D (biomedical) imaging software to focus on a certain area.
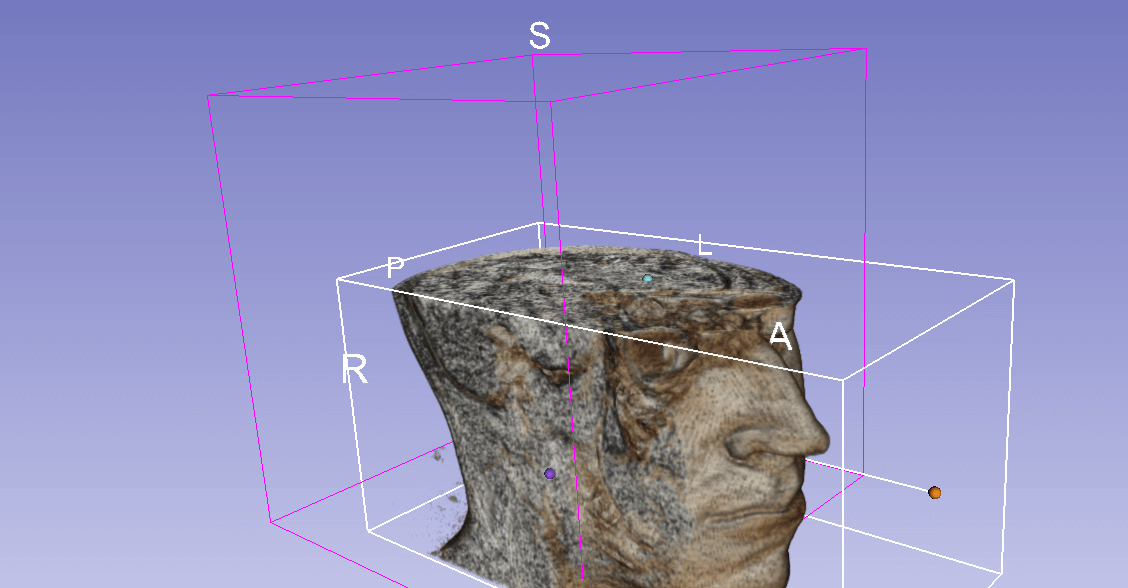
The ROI defines the borders of an object under consideration. In many applications, symbolic (textual) labels are added to a ROI, to describe its content in a compact manner. Within a ROI may lie individual points of interest (POIs).
https://en.wikipedia.org/wiki/Region_of_interest
A ROI is considered useful when doing segmentation for example. The consequence of defining a Region of Interest is a visual cut that violently separates the Region in question from the rest of its surrounding matter.
Transcription from: Patient CT Mandible Segmentation for 3D Print Tutorial (using ITK-Snap) https://www.youtube.com/watch?v=P44m3MZuv5A
1
00:02:31,838 --> 00:02:34,594
Today, we are going to do the mandible
2
00:02:35,471 --> 00:02:38,188
as an example of how to do bone segmentation.
3
00:02:38,288 --> 00:02:42,618
First things first, find your Region Of Interest.
4
00:02:42,718 --> 00:02:44,674
In this case, it is going to be somewhere here for us.
5
00:02:46,917 --> 00:02:50,136
Today, we are not going to do any manual segmentation.
6
00:02:50,236 --> 00:02:55,367
We are going to do the entire process in their semi-automated tool.
7
00:02:55,467 --> 00:03:00,736
The semi-automated tool that you can use in ITK-snap is located here:
8
00:03:01,189 --> 00:03:04,214
It is called the Active Contour Selection Tool.
9
00:03:04,693 --> 00:03:09,608
When you click that, you see your Region Of Interest here, in the dotted box.
10
00:03:10,171 --> 00:03:12,633
It is going to be available in all planes.
11
00:03:13,604 --> 00:03:16,936
Yours is not going to look like this, it might look like this:
12
00:03:17,036 --> 00:03:19,252
so that it surrounds the entire image.
13
00:03:19,736 --> 00:03:21,650
If that is the case, what you are going to do now,
14
00:03:28,792 --> 00:03:26,246
is drag in all four sides, so that you have basically isolated
15
00:03:24,175 --> 00:03:29,900
your Organ Of Interest.
16
00:03:30,602 --> 00:03:33,620
And you are going to do that for all the different planes as well,
17
00:03:34,284 --> 00:03:39,020
just so you know that we are going to get exactly what we are asking for.
18
00:03:40,237 --> 00:03:45,271
At this point, you notice that if I go through my CT,
19
00:03:45,456 --> 00:03:50,198
the Organ Of Interest is actually larger than my bounding box.
20
00:03:50,754 --> 00:03:52,568
So you have two options here:
21
00:03:53,139 --> 00:03:56,462
Option one is to resize your bounding box
22
00:03:56,838 --> 00:04:02,707
until it completely encapsulates your Organ Of Interest, like this.
23
00:04:04,385 --> 00:04:07,443
Or, what I prefer to do, and you see why in a second,
24
00:04:07,705 --> 00:04:11,565
is actually to leave this bounding box fairly small and focused,
25
00:04:11,823 --> 00:04:13,671
at least at the start.
26
00:04:13,855 --> 00:04:19,924
So in this case we are going to focus on this part.
27
00:04:20,293 --> 00:04:25,018
Something small. Just like that.
28
00:04:24,919 --> 00:04:26,730
Once you are happy with your Region Of Interest like this,
29
00:04:27,657 --> 00:04:30,498
you are going to hit Segment in 3D.
30
00:04:31,472 --> 00:04:36,234
It is going to bring up a new set of images.
31
00:04:36,627 --> 00:04:43,069
Basically your Region Of Interest from the Active Contours selection
32
00:04:43,465 --> 00:04:45,999
has zoomed on your Region Of Interest box.
33
00:04:46,668 --> 00:04:48,319
We are not interested in this view,
34
00:04:48,625 --> 00:04:51,042
we are interested in this window,
35
00:04:51,465 --> 00:04:56,395
and this window is basically where we set our threshold values.
36
00:04:57,080 --> 00:05:01,913
Our threshold values are going to tell us exactly
37
00:05:02,579 --> 00:05:06,017
what we want to keep in terms of segmentation.
38
00:05:06,406 --> 00:05:09,828
and what we don't want, so the boundary.
39
00:05:09,836 --> 00:05:12,250
The boundary in this case is everything in blue,
40
00:05:12,450 --> 00:05:15,068
and whatever we keep, our Organ Of Interest,
41
00:05:15,222 --> 00:05:16,735
is going to be in white.
42
00:05:17,122 --> 00:05:20,444
The way that you set your boundary, or your Region Of Interest,
43
00:05:20,544 --> 00:05:22,044
is over here in this panel.
44
00:05:23,162 --> 00:05:27,296
So here we see the lower threshold and upper threshold sliders.
45
00:05:28,006 --> 00:05:30,647
These values represent the Houndsfield-units
46
00:05:31,030 --> 00:05:35,280
So the brightness or the contrast in your CT or MRI imaging modality,
47
00:05:36,477 --> 00:05:38,893
and when we change these values you can see
48
00:05:38,993 --> 00:05:40,493
how your Region Of Interest is actually isolated.
49
00:06:33,577 --> 00:06:37,605
The second step in this entire segmentation process,
50
00:06:37,365 --> 00:06:40,084
is called: The Bubble Growth.
51
00:06:40,638 --> 00:06:44,868
ITK-snap has a semi-automated segmentation module,
52
00:06:45,099 --> 00:06:47,524
and by placing down these bubbles,
53
00:06:47,900 --> 00:06:51,525
so click Add Bubble Cursor and it will turn your cursor into a bubble,
54
00:06:51,840 --> 00:06:54,983
and what these bubbles are going to do in the following step
55
00:06:55,449 --> 00:06:57,867
is to grow into your Region Of Interest
56
00:06:57,948 --> 00:07:00,798
and then they will stop growing once they hit the blue area.
57
00:07:01,404 --> 00:07:07,343
Essentially this is going to give you a near-perfect 3D-representation
58
00:07:07,649 --> 00:07:09,860
of your particular region.